
Electronic enclosure design
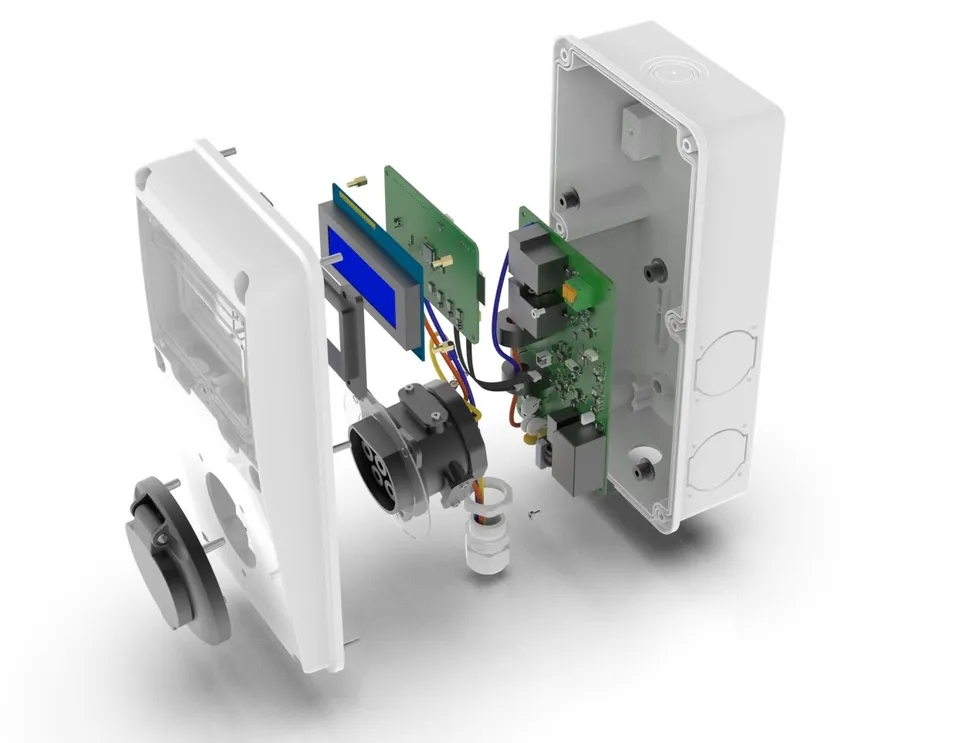
Electronic enclosure design at Proto Lab AM starts from the board, not from a catalog. We design the housing alongside the electronics, so connectors line up with their openings, displays sit behind their windows, heat has a way out and the unit mounts the way it will be installed. You receive 3D models, a printed sample fitted with the real board, and files ready for production.
Two routes to a housing
A ready-made enclosure, adapted
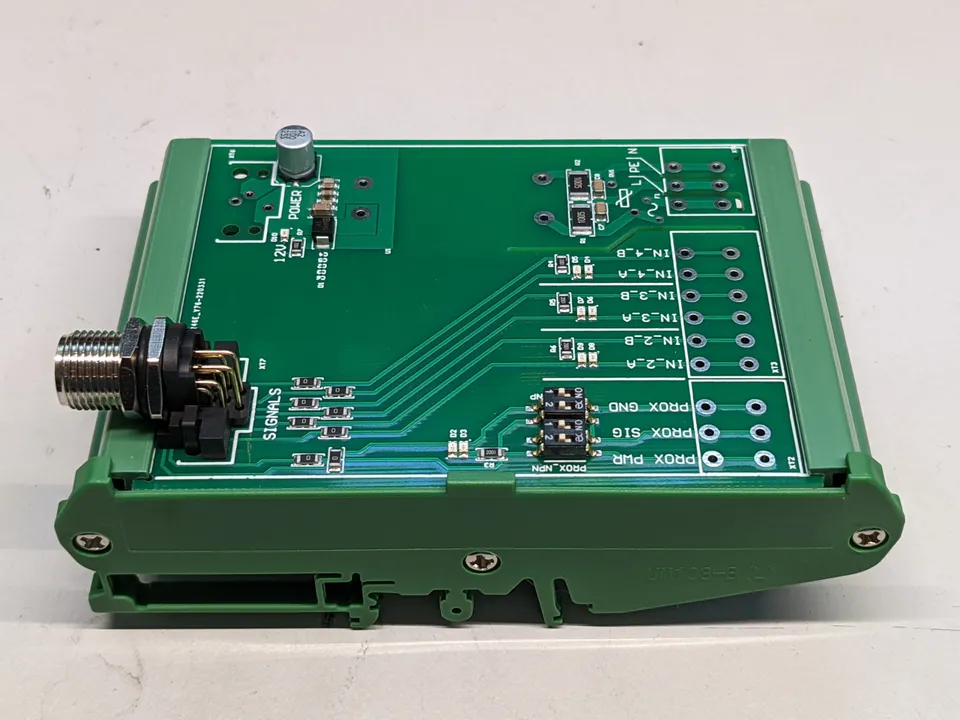
For many prototypes and small batches a standard enclosure is the fastest and cheapest choice. We select one from established suppliers and design the cut-outs, mounting and labels for it:
- a DIN rail enclosure for control cabinets;
- an ABS desktop case for instruments and monitoring units;
- a handheld case with a battery compartment;
- a wall-mounted or IP-rated box for indoor and outdoor installation.
A custom enclosure design
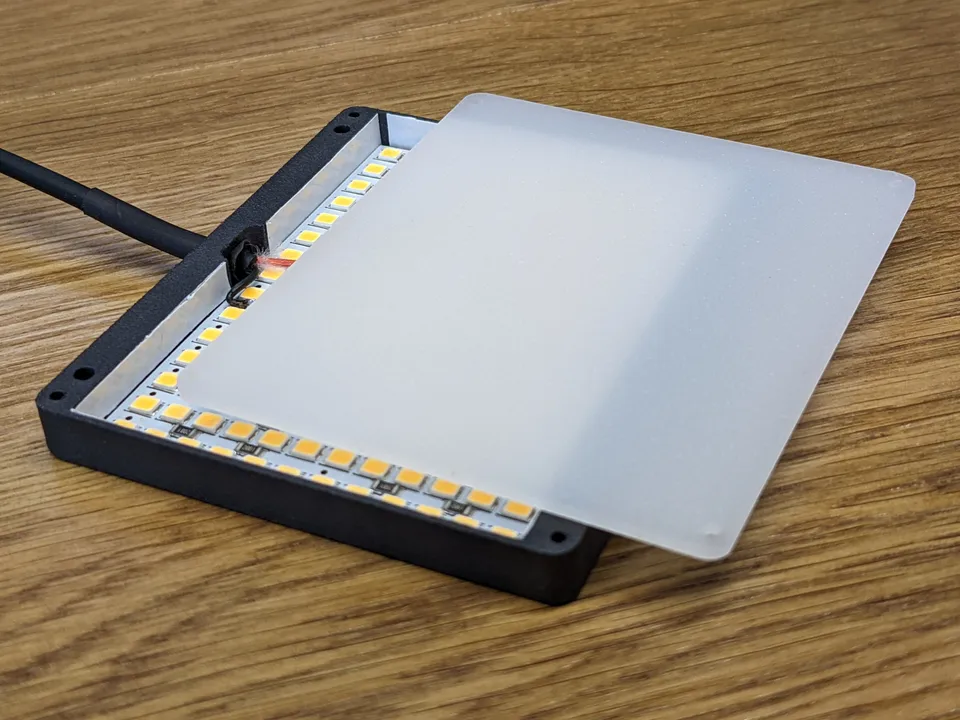
When the shape, the sealing or the appearance matters, we model the housing from scratch around the board, the cables and the user interface, and prepare it for the production method you will use.
How the work is done
Requirements
Mounting method, dust, moisture and vibration exposure, operating temperature, user interface, internal space and target production method.
3D design
Modeled in SolidWorks with the board's own 3D model inside: ports, controls, fixings or snap fits, display windows, ventilation and, where needed, access for test and debug. You see renders at each iteration.
Fit sample
A 3D printed enclosure prototype is fitted with the board and cables. We check connector alignment, access to controls, airflow and how it mounts.
Release
Corrections from the sample are made, and the production files are prepared.
Materials and methods
| Method | Typical materials | Used for |
|---|---|---|
| 3D printing | PLA, PETG, ABS | Fit samples, prototypes, short runs |
| CNC machining | Aluminum, acrylic, FR4 | Rugged housings, precise features, front panels |
| Laser cutting | Acrylic, ABS | Flat panels, internal partitions, quick boxes |
| Adapted standard enclosure | Molded ABS or polycarbonate | Cost-effective pilot and small-batch units |
We advise on the method from the volume you expect and the environment the device will face, and can prepare a design for injection molding when volumes justify it.
What you receive
Assembly drawings and exploded views
Manufacturing notes: wall thickness, tolerances, materials and finish
Label and marking layout: logo, rating plate, QR code and warnings
A fitted sample with the board installed
Designed with the electronics
Because we also do the PCB design, the board and its housing are changed together. A connector moved on the board moves its opening in the same revision; a hotter component gets a vent or a thermal path; creepage and earthing are considered for the compliance testing that follows. Enclosures are part of every electronic device design project.
Mistakes the fit sample catches
The printed sample is where most enclosure problems are found, while they still cost a reprint rather than a mold change: a USB socket recessed too deep for the plug, a screw boss that hits a capacitor, a light pipe that misses its LED, cable glands with no room to bend the cable. Each finding goes back into the model before the production files are released.
Where our enclosures are used
Once the design is released, units are fitted and wired through our box build assembly service.